Tuesday, March 6, 2012

Gravitar Final Pictures

Just a few before and after pictures of the Gravitar.


Sunday, February 19, 2012

More water damage repair

The two back corners of the Asteroids Deluxe have water damage.  It's pretty common, and often I just let it go, and don't actually worry much about it.  Other times the damage is too great, and it simply wont hold the t-molding any longer.  In this case, it's time to try and patch or replace the corner section.

I'm not planning on replacing the side art on this machine.  My plan is to peel it back and glue it back down after replacing the corner.


Here is a pic of the corner with the bad section cut away.  I used the front corners to make a copy using the tracing bit and a router.  I then cut that new piece to fit on the back corner.  To hold it in place, I used glue and a biscuit joiner.
Once this is dry and feels solid, I'll reattach the artwork and route a groove for the t-molding to go around the outside.  This should clean up really well.

More WWF Superstars

Not much to talk about here. Just a little clean up and it's ready to go.

This cabinet isn't in the best shape.  It has some water damage, but nothing major.  I added leg levelers, chrome t-molding and an inexpensive pair of Happ 8 way controllers.  In my opinion it looks much better.  For a moment I considered attaching a sheet of black laminate to the front lower section, to disguise some of the water damage, but I ran out of time.

Anyway, here it is.  I enjoyed playing it.  It really is a fun game.  I hope the gang down at the laundromat can get some use out of it.

Saturday, February 18, 2012

Asteroids Deluxe Facelift

I'd like this cabinet to look pretty nice when finished.  Unfortunately it doesn't have much going for it.  Ok, the Side Art isn't terrible, but that's about it.  Last time I worked on this, I completely replaced the bottom section.  The front kick panel of this cabinet has numerous chips and nasty swollen water damage.  So I'm going to remove the front half and the coin door, cut a matching piece, laminate it, and put it all back together.


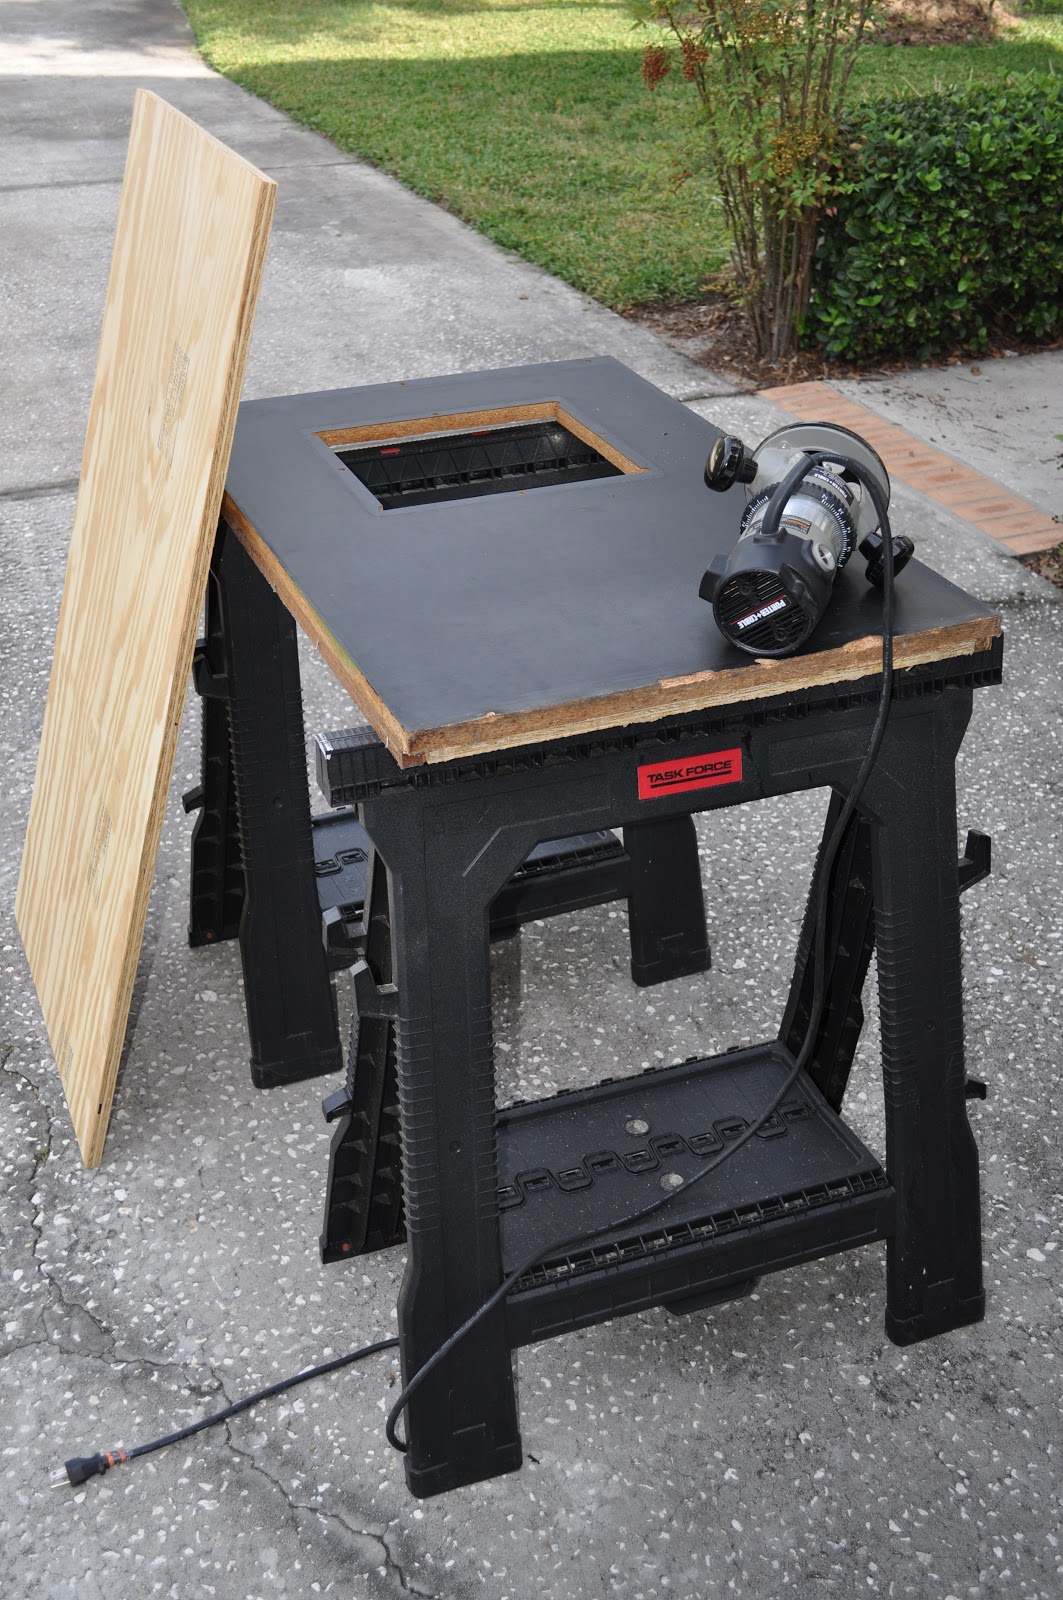
Here is the old front section.  Using a tracing bit, and my router, making a copy was relatively simple.
I already had a nice piece of black laminate and after gluing it down it was a simple matter to once again use the router and trim the edges smooth.

Here's the finished product.  Not bad, seriously it was worth the effort.  I used a few scraps of wood, some wood glue, and my cabinet clamps to get this in place and solid.

The coin door didn't look that bad, so a light coating of satin black and it was ready to go back on the machine.  Here is a shot of the final product, minus the chips and cracks.  It's a much cleaner edge and finish, a look worthy of an excellent classic game.


Monday, February 13, 2012

WWF Superstars

Last Wednesday a friend drops by and asks, do I have any games I'd like to place at his new laundromat.  The short answer, not really.  The first thing that scene brings to mind is, vandalism.  Since I actually enjoy the look of most of my games, I opted out.

Instead, I asked on the local forum, and did a quick look on Craigslist for any potential so-so games that could fill the role.  I found a cheap and clean, well, somewhat clean, WWF Superstars being sold in Largo.

So after talking to the owner, I decided it wasn't that bad of a deal.  The game wasn't working of course, but the sounds were playing and the cabinet looked to be in decent shape.  I decided to fix it up a little, and offer it up to the local laundromat crowd.

The monitor was toast.  A fuse on the deflection board was blown, and after replacing it, and powering up, there was a nasty burning smell and a small amount of smoke.  Wow, nice!  My answer at this time, just pull it out, and set it aside.  I have three working spare monitors, so simply swapping in a good one seemed like the right thing to do.  After this, the game came up and played fine.

It's actually a fun game.  I like that it has the original WWF members, Hulk Hogan, Randy Savage, Andre the Giant, etc.  The game play isn't half bad.  You can play single player vs. the computer or tag team against the computer.  It also offers two player vs. mode, so it has plenty of replay value.

The cabinet looks rather dull, and one of the controllers is pretty much shot.  I placed an order with Twisted Quarter for some new t-molding and a couple of new Happ joysticks.  That should give it some much needed bling.

Tuesday, November 1, 2011

The Haunted Arcade

The game room was made available to the trick-or-treaters this year.  Though not many actually took the time to stop in and play a game, there were a few.  There were some dad's that wanted to hang back and play a few games, and this caused a few grumpy mom's to storm off down the street.  All in all it went pretty well.  Some younger kids got to enjoy the games, and I met several guys my age that wanted to talk about the hobby. 

My neighbor, Dean, came over early and we set up a fire pit and built a nice fire.  We then sat around and handed out candy and drank ice cold Sam Adams.   Later that night Mick from the Village BBS came by along with his kids and wife Jenny.  It was a nice relaxing evening. 

I really didn't do a whole lot to the game room, just some lights and a skeleton. I hooked up a few old tv's and had them playing a horror movie, and played some old 80's music in the background.
Here are a few shots I took just after getting everything set up, before any kids came along.


Wednesday, October 12, 2011

The usual first steps and woodworking

Since this game was only missing the original fuse block, there was some hope that it would actually work if the fuses were replaced.  Ha! Not!

So I set about restoring the AR1 board with new caps and two new transistors.  The power brick also got a new bridge rectifier, filter capacitor, fuses and fuseblock.  Then came time to test the voltages.  Usually this is just a precaution.  I have never had a power supply or AR board fail to work properly after replacing the caps and transistors.  The AR board should provide 5V for the system board, testing mine showed over 10 volts!  Ouch.  I took a long look at the schematics and decided it had to be either the LM305 or the two or three diodes on the board.  I had a few  1N7004 diodes on hand, so I set about to replace those first.  That didn't work.  The old diodes were good, which meant the LM305 was toast.  After studying the board for a minute or two,  I noticed that one of the legs on the LM305 was missing.  Now this thing is tiny.  Using a leg from a capacitor, I soldered a bridge in place for the missing leg.  Afterwards the voltages were perfect and adjustable to 5V.  Weird, but that solved the issues with the AR1 board.

The power brick is another problem.  Sadly it seems that the transformer has gone bad, either that or I'm not taking the voltage reading properly.  I'm almost certain I am.  Still, I've been told transformers almost never go bad, unless we're talking about Decepticons.  =)

The marquee wasn't lighting up, and I wanted to make sure the black light was going to work too.  After pulling out the top section of the cabinet, and studying the florescent light fixtures, I noticed one of the small ballasts had been removed.  The black light was missing, and had been replaced with a regular tube.  How sad.  The coolest part of this game, and the owner couldn't be bothered to replace a black light.  I had both items on hand.  After replacing the missing parts, and a few damaged connectors, I had it working again in minutes.  For the first time in possibly decades, the black light artwork was glowing proudly.

The cabinet looked pretty bad setting directly on the ground.  So I wanted to get it lifted up on leg levelers again.  This is normally an easy task.  When I tipped the cabinet over to screw in the replacement leg levelers, I realized why they were missing.  The bottom was in REALLY bad shape.  It had been eaten by termites, luckily they had long since moved on, leaving me the mess to clean up.  The base of the cabinet would have to be busted out and replaced.  Quite a mess.


This really went smoothly though.  The old base was easily knocked out, since it was badly chewed up.  I guess termites don't have a taste for particle board, because everything else was fine.  Cutting and installing the new base was a pretty straight forward deal.  I found some furniture hardware to mount the leg levelers in and attached those to the new base.  Now it looks much better since it's raised up off the floor.