As I was saying, I wanted the monitor back in the cabinet. So today I started reassembling.
These cabinets have bolts that mount through the side of the cabinet, so I polished those up by clamping them in a cordless drill and holding them up to some fine sandpaper. I then cut the openings in the newly applied side art and bolted everything up.
The lower marquee bracket and lower bezel bracket were both starting to rust away in spots. I sanded those down and hit them with some Rustoleum high fill primer and then lightly sanded them down till they looked and felt smooth. I guess I may have done this twice, and sanded the primer down each time. Then I hit them with a few light coats of satin black.
I picked up a small led under counter light fixture from the hardware store and mounted that in place of the old florescent light fixture. It was the perfect size and will run cooler and trouble free for as long as I'll care.
The bezel was pretty dirty and had some major stuck on gunk at the bottom where the lower bracket was attached. This I cleaned up with some simple green. I then hit the whole bezel front and back with a dual action car buffer and some Mcquires ultimate polish. It seemed to clean it up quite nicely.
When I started this project over a year ago, I must have ordered most of the parts I thought I would need. So in a box I found the new instruction card and new bolts for the control panel. Which was really thoughtful of me, thanks john2015.
I also found the flat white t-molding in the bottom of the cab, guess I ordered that too. So I put that on, knowing it would look like I had done a lot of work when really it's a super easy step.
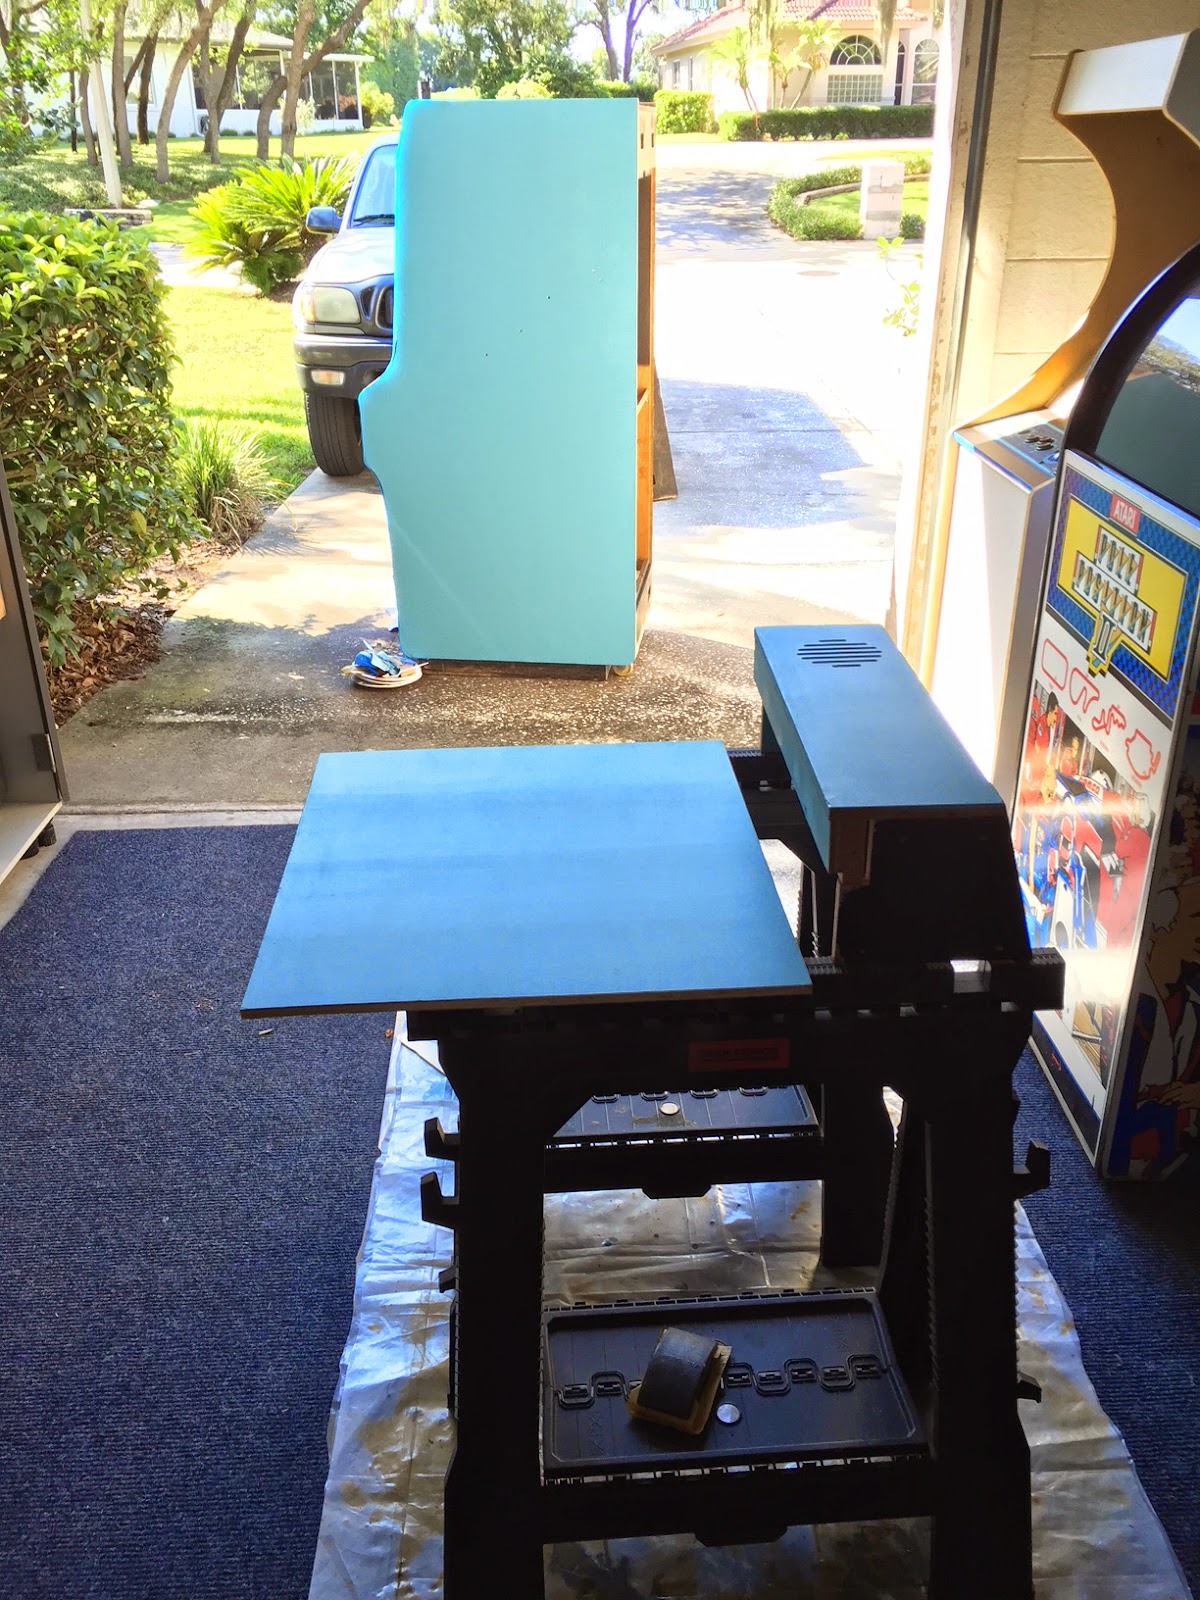
I then mounted the main board inside the cabinet and hooked up the harness. I had to add a new power cord and this I did by extracting the pins from the old two prong plug and re-crimping some new pins on the end of the new power cord. I then crimped a ring terminal on the ground wire and got everything into place.
I crossed my fingers and turned the game on. I could hear the same old Nintendo "boink" sound. Then I walked around the front to see if the game was up, and sadly it wasn't to be. I checked a few voltages, and they were down to around 4.8v.
This got me looking at the power supply. I wish I had taken some pictures of it, but it was just a fidgety thing, lots of screws and tiny bolts holding it together. When I did get it apart it was a mess of twisted grimy smokey smelling wires. I replaced all the old capacitors with ones that I happened to have on hand. Some I didn't have but I guess I can always get back in there and finish some day.
Anyway, long story short, I fired it back up, and the voltages were now just above 5.1v, so I was happy with that. The bad news is the game was still not working, it appears to be stuck in some kind of constant watchdog reset. Okay, maybe it doesn't work, but it's starting to look nice, right?
The PCBs are going to get shipped out to
Mike's Arcade for repairs.