Thursday, April 26, 2012

Crystal Castles Part 1


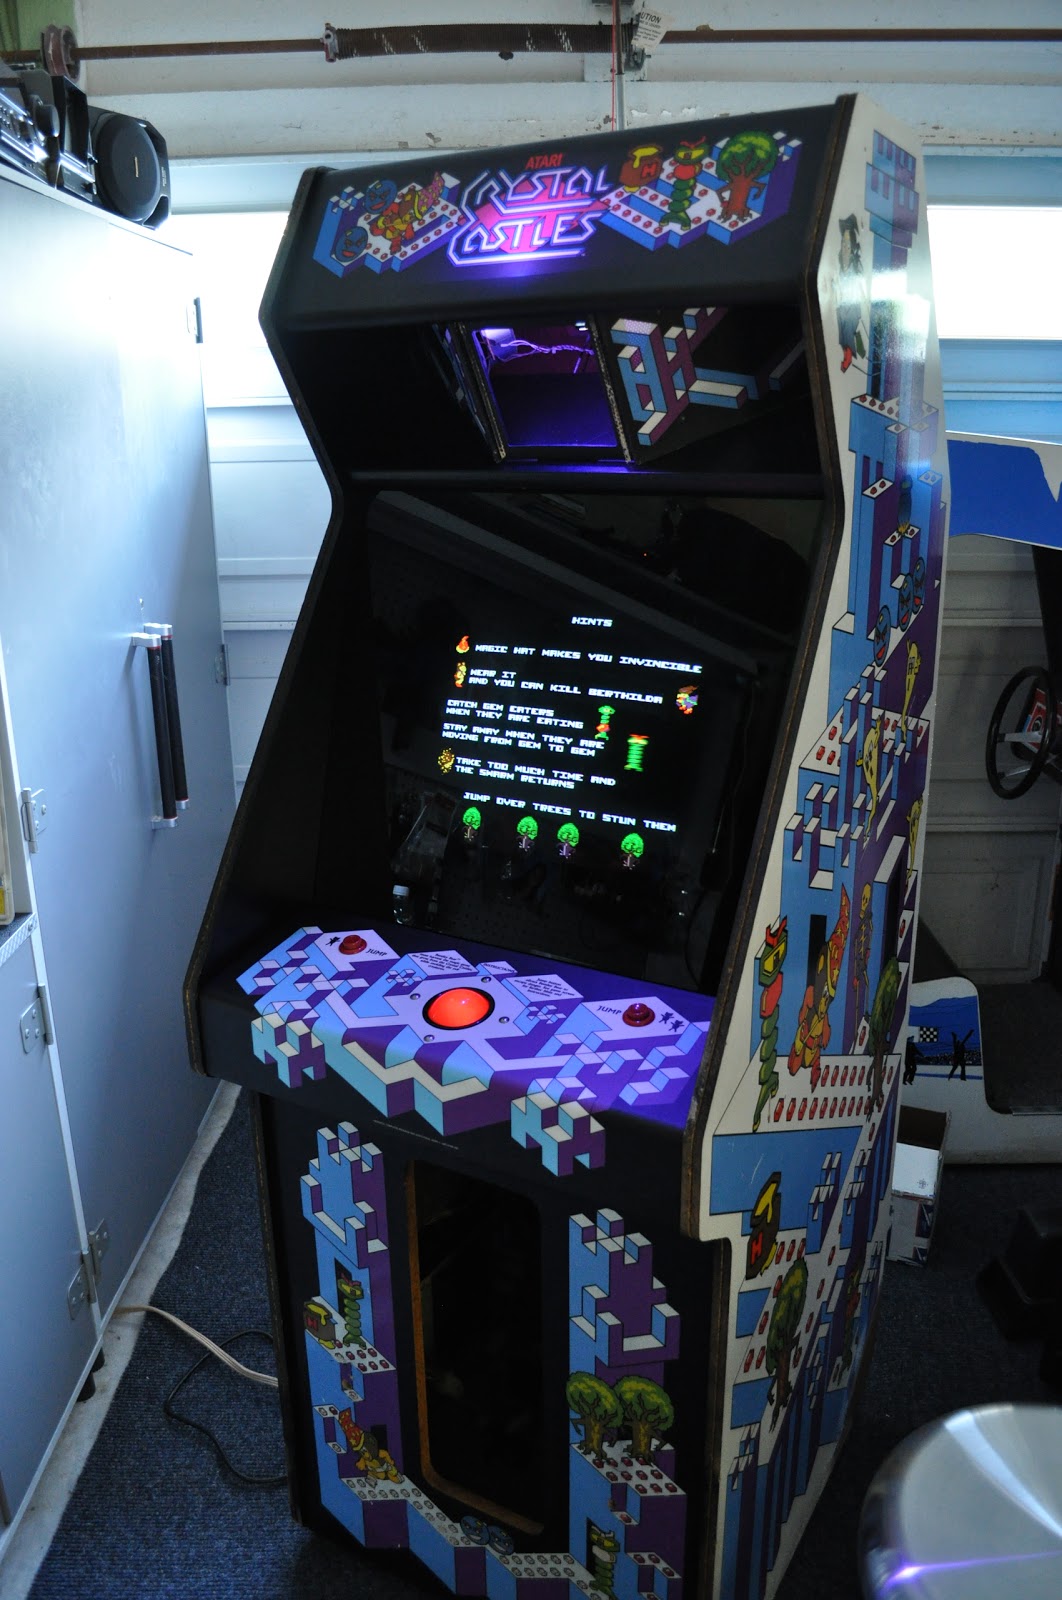
So far this has been a fun project.  For the most part, I have been hurrying through the work.  This is a great looking cabinet with cute art and great colors.  It should clean up nicely and deserves a little respect.  It's not such a bad game after all.

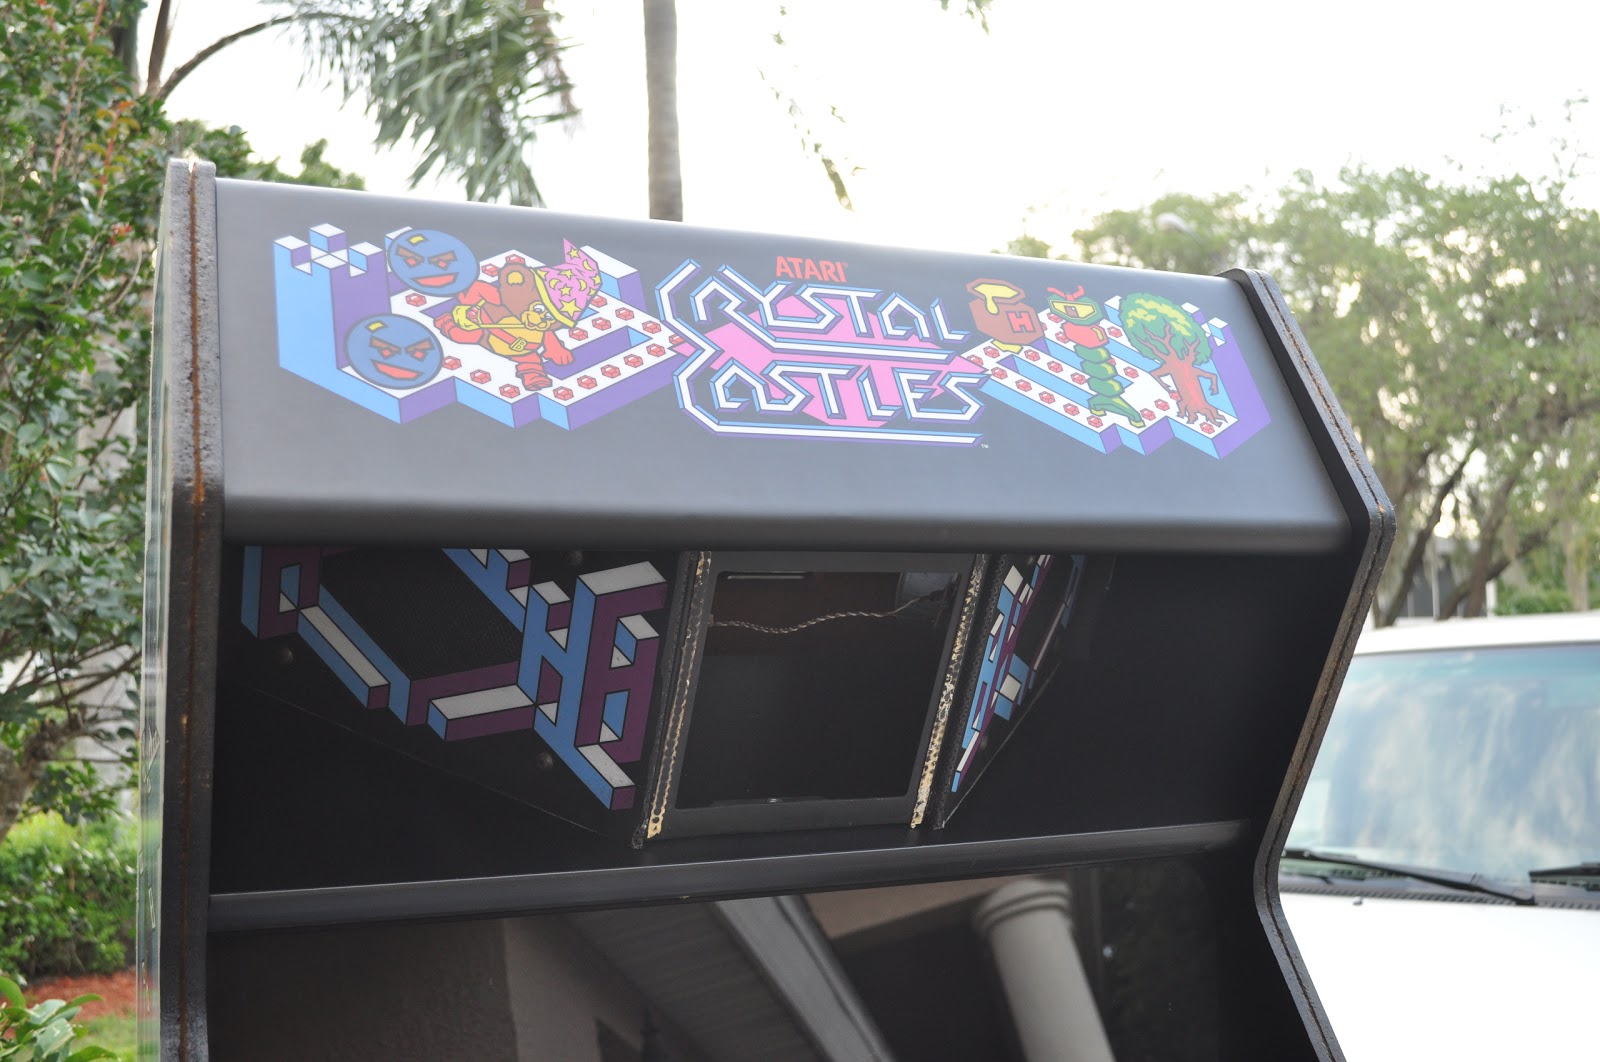
Of course I couldn't help but to lay out the cash for the repro'd artwork, the control panel and the marquee.  Sadly the speaker overlay is no longer available.  The old control panel was stripped down to bare metal, sanded, and cleaned of rust.  It then received a good coat of Rustoleum primer and satin black.  The marquee was really a mess, and needed sanded down.  Since the wood portions of the marquee were questionable, I gave it several coats of the Zinsser sanding sealer.  The hardest part of the marquee was just getting the old artwork removed.  The glass portion was glued back in place with a silicone sealant.  Like I said, I've been really lucky just to find time to work, so I've been lazy when it comes to taking pictures.


The base of this cabinet has some water damage and the back corners have been smashed.  The water damage looks to be from someone mopping the floor around the machine for years.  I don't like for the wood to be crumbly and falling apart, even if it is just the bottom corners.  So I made new corners and replaced them using a biscuit joiner.  Here are a few shots of the repairs.  I hope to just touch up the damaged artwork.


For the trackball, being pretty much the basis of game play, I wanted it to work perfectly.  I decided to do a full replacement of the bearings and rollers.  The ball also needed replaced,  this game originally came with a lighted red trackball.  The ball, when lighted, is part of what made this game so unique in the 80's.


The back door on this game was missing, and replaced with cedar planks.  Well those had to go, so I made a new door, and replaced the upper and lower panels also.  I matched the panels exactly using a tracing bit and a router,  the only difference being the new pieces are plywood and not fiber board.  The door now looks nice and has a fine new cam lock.


The very front of the cabinet, above the coin door was split.  I braced this piece up with a piece of steel and bondo'd the crack.  After painting it black, it's hardly noticeable.  The control panel area needed some filler and it too was painted black just to make it all look fresh again.


As far as the internals, very little needed to be done.  The capacitors on the AR board got replaced and I did the whole Bob Roberts power brick rebuild, which included a new big blue.  I cleaned up the power switch and replaced the nasty power cord.  The bottom of this cabinet was pretty nasty, so all that and the harness was cleaned or washed.  The inside is looking pretty nice now, not perfect, not spotless, but clean and presentable.  Also you can see this is going to be a really pretty game when finished.


Friday, April 20, 2012

Crystal Castles Project

This is a game I never expected to own.  After finishing up the Asteroids Deluxe, I was looking for a nice simple project.  This was offered to me by brew_miester on the Village forum.

The game actually works, so that's a major relief.  This cabinet is considered by many to be one of the best looking of the early Atari games.  Sadly, all of the artwork on this cabinet has been damaged in some way.  The front kick plate is faded and has two lock bar holes.  The control panel and marquee are both cracked and flaking badly, and the bottom sides of the cabinet have both water damage and smashed corners.  There is also a split in the front panel just above the coin door.

I looked online and found the control panel overlay and the marquee had both been reproduced.  I believe the side art and kick panel graphics are available also, but that would put this project's budget much higher than I am willing to go at this time.

Since this cabinet is going to be for playing, and not for marveling at, I decided to clean it up the best I could, but try to keep costs down.  It's best to have a plan when doing these restores, so I decided to just fix the cabinet, replace the control panel and marquee artwork, then repair and replace the poorly functioning trackball.  Also, the back door is missing, oh joy!  In the end, I hope to have a nice looking game, it won't be perfect, but I'll have the option to make it perfect in the future should I ever decide to go that route.

Here are a few of the before shots.  Everyone loves the "planking" of the back door area.


When starting a project like this I prefer to look on the positive side, and this cabinet has a few thing going for it.
1. The game works, the wiring and power supply are original and "un-hacked".
2. The majority of the side art is in reasonably good condition.
3. The control panel and coin door are not badly rusted or dented.
4. It's a great classic game made by Atari.

Sunday, April 8, 2012

Asteroids Deluxe Finished

As I often do, I neglected to get pics of some of the last stages of this project.

After getting the board back from road.runner, I picked up a sheet of the foam style poster board from Michael's (the store), and fashioned a bezel for the blue gel.  I purchased a gel from Wizzes workshop.  It was a hassel getting the cutout for the screen to look right, and also getting the gel to lay flat and wrinklefree was near impossible.

I had to glue down some bits of the background and touch up some faded areas with a black marker.  In the end the background looked quite nice.


I finished up a new back door.  The door turned out really well and I installed a new cam lock.


In the end the game looks quite good, not perfect, but really nice.


I'll post a set of before and after pics when I have the chance to get some better photos.  For now its finished, and I am quite happy with it.