Monday, May 4, 2015

Patching up the Donkey Kong Cabinet

I had a good amount of free time this weekend and I spent most of that patching up this old cabinet.  I lost count of the number of times I had to fill and sand with filler putty.  In addition there were several bad spots where the plywood was delaminating.  For those places I had to brush wood hardener between the layers, then clamp that all down with a scrap piece of wood to get it flat again.
 

The cabinet was sanded down, inside and out.  After which I noticed several more spots I had missed, and so the process would begin again.  I try to repeat this cycle as long as possible, but in the end it comes down to what I'm willing to live with, and I think this one is now good to go.


The inside panels got three layers of primer, sanded between each.  Afterwards they get three coats of satin black.  As before, not perfect but as close to the original look as I can reasonably achieve.

I took a chip from the inside of the cabinet to Lowe's and had them color match the paint.  I ordered a quart of oil based paint and picked up a quart of the standard Kilz primer.  While I was at the paint counter I asked them to tint the primer as well.
.
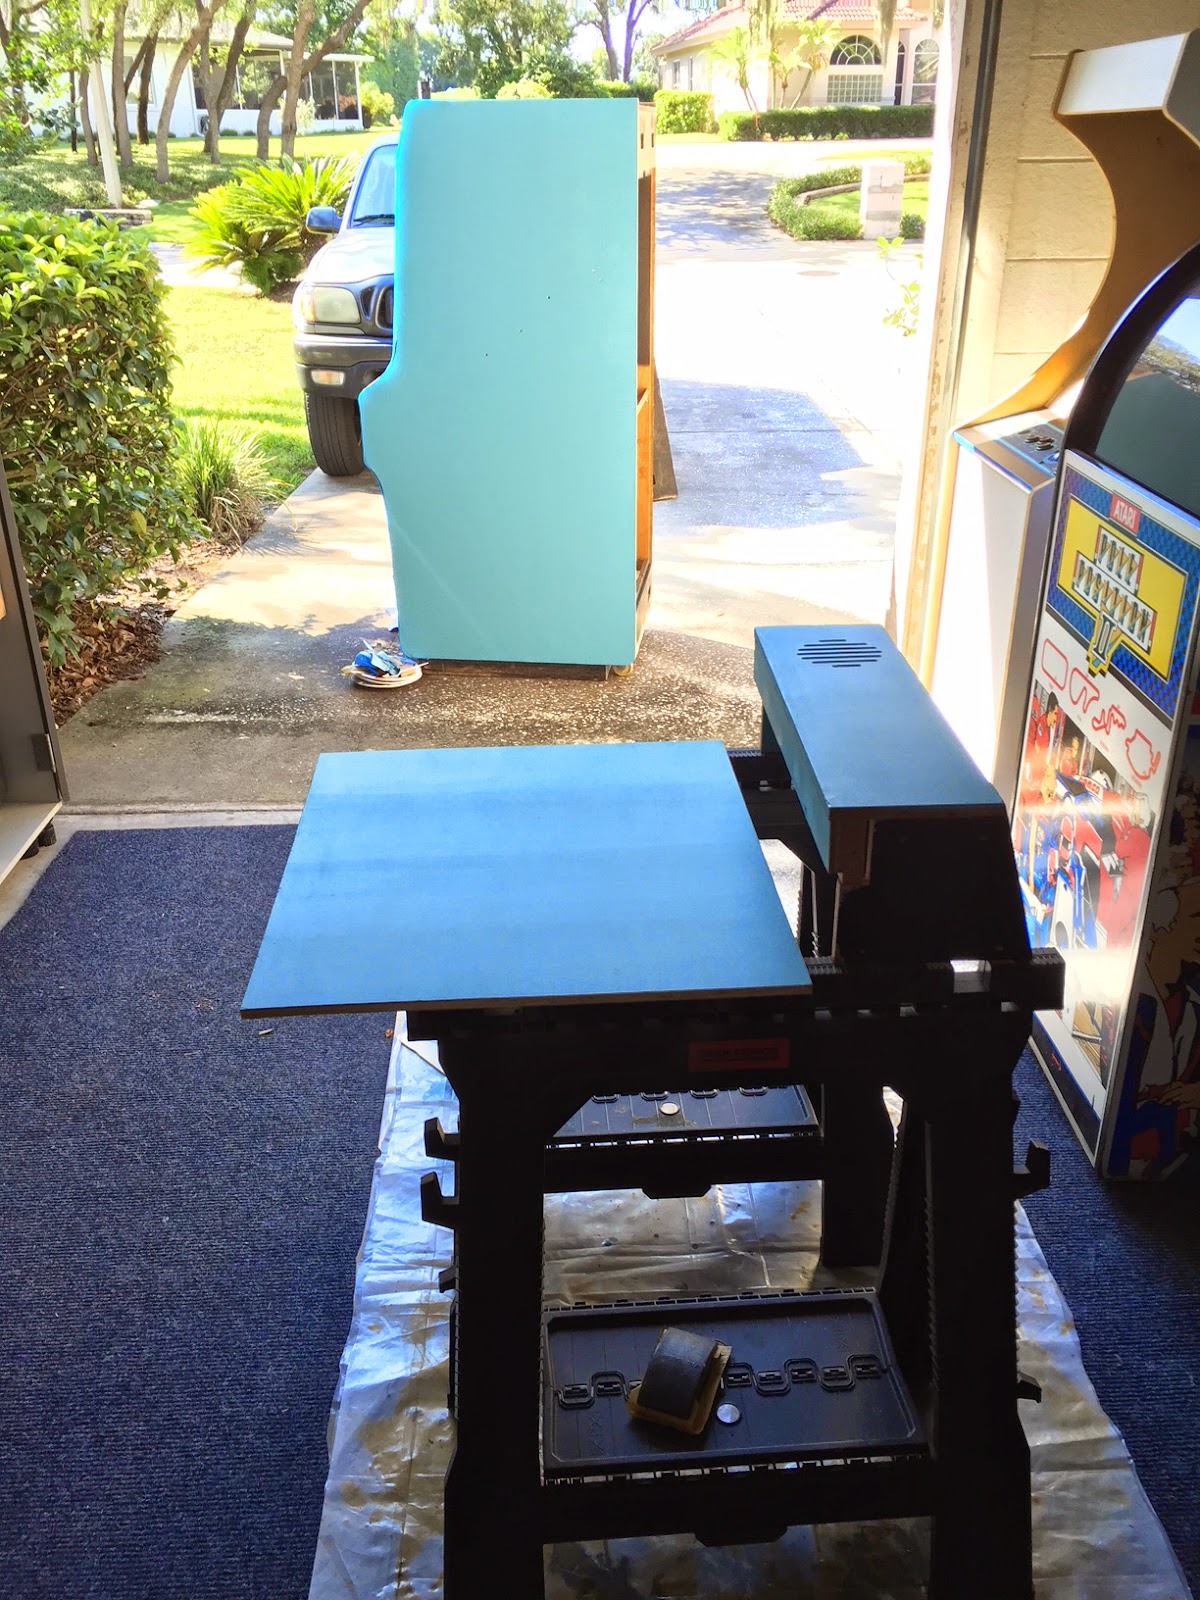
The front panel needed replaced so I cut a new one from some spare half inch plywood I had on hand. You can see here, that like most folks, I removed the speaker panel in order to get a better finish. This and the new panel are getting two coats of Kilz primer.


I gave the sides of the cabinet two coats of Kilz and called it a day.  I'm going to allow the primer to dry for a few days and go back and sand it as smooth as possible in preparation for the paint.

It was a beautiful weekend, perfect for working in the garage and just hanging out.  My old friend Lee came over on Saturday and we listened to a good many records from his collection.  We also ventured out for lunch to grab some tacos.

This project seems to be moving forward nicely.  I'm even contemplating ordering new side art.


Friday, May 1, 2015

Pac Man gets capped

As I have posted about in the past, I usually have the game room/garage cleaned up and open for Halloween night.  Over the years I have drawn a small crowd of repeat visitors.

This last Halloween, one of my daughter's friends were playing Pac Man when the flyback transformer died and sent out a nasty cloud of smoke.  Not a big deal, the next day I swapped the G07 that was in the game for another that I had in reserve.  Just the other night I finally got around to doing a cap kit on it.  The horizontal output coil needs replaced but I didn't have one on hand.  The image was also too large to see the high score.  So for some reason I thought it would also be a good time to check the B+ voltage.  Good thing cause it was around 140V.  I adjusted it down to 120V and the screen shrank just enough to get the score on the screen.  I still need to replace that coil though.

So for posterity I decided to add a post here about the Pac Man.  I was looking at the blog the other day and noticed that the majority of my traffic is for the one Pac Man post were I'm applying the vinyl artwork.  Well folks here is a pic of how it turned out.  Nothing really special to see.  I suppose as Pac Man goes, this is a pretty nice one.  Better still would be to use the actual stenciled artwork painted on the cab as was original, but I'm not that much of a purist.

I had been having intermittent issues with the game not booting up.  So one day I got tired of that and sent it off to Slava Madrit to get it all fixed up.  You can find him on E-bay as Madrits. While he had it, he was kind enough to add the High Score kit that allows for initials to be entered, so that was special.

Oh and I added one of those little electronic Pac Man key chains to the mix, very special indeed. =)