Monday, March 26, 2012

Asteroids Deluxe vs. Mike Salay

This "project" Asteroids Deluxe came with a totally dead board.  I tried a few things but likely made matters worse.  I know the board had issues with the voltage regulators, and there were a few burned diodes, but after replacing a few components, an electrolytic cap exploded on me while I was just a few inches away from the board.  Wow, I couldn't hear for about 5 minutes!  That's when I decided to seek professional help!

I had heard from a few folks on KLOV that Mike Salay was the Atari Vector Ninja.  Here is a list of things he repaired.:

Diodes/Regulators for the power section
A burned trace on the board
Chips in the ram, clock, and vector circuits
A TL082 and 4016 (to recover graphics)
A bad POKEY and LM324 op-amp (was causing sound issues)
bad LS251 (was causing an auto play issue)

His thoughts were that the board had sustained a major power surge. 
I'm thinking it had something to do with the Mayan end times prophecy.
Mike 1, Asteroids Deluxe 0. 

He even provided these pics.  Rad!


Sunday, March 25, 2012

Asteroids Deluxe CP

Time to clean up the control panel on this beast.  I'm guessing an operator, trying to clean this cabinet up a little, painted the control panel black and slapped this aftermarket Asteroids overlay on as a quick fix.

There really isn't anything special about this job.  I ordered the correct Asteroids Deluxe control panel overlay from Arcadeshop.com.  The old panel peeled off easily after setting it to warm in the sun for about 20 minutes.  The panel needed a good once over with a wire brush followed by a good sanding with some 200 grit and then 1000, just enough to remove the small amounts of rust.


At this point I basically rummaged through my collection of spray paint and found a can of Rustoleum primer.  The whole panel was sprayed three coats and then a final coat of Rustoleum satin black on the inside and edges.  The important thing here is to leave the top portion of the panel white.  This helps the overlay graphics to look bright and colors to stand out.  If the whole panel is painted black, the graphics on the overlay tend to look muddied and dull.  After this, I set it aside for an entire week to allow the paint to cure.

So the hardest part of this project was getting the control panel overlay to line up properly with the button hole locations.  I clamped the new one in place with a pair of wood clamps, and adjusted it by looking through the button holes in the back to align with the blue line along the top row of buttons.  It's not exactly perfect but looks pretty close.  I considered using the original buttons, but they were all pretty much stained, like maybe the guy who played this most was a chain smoker. I replaced all 5 buttons with new leafswitch buttons from TwistedQuarter.  So here is the final product, with the Rustoleum primer and new overlay, it should last a good long time.


Wednesday, March 21, 2012

First Game of 2012

Ok maybe the second pickup, but the WWF doesn't really count.  Anyway, since I saw this nice looking Sega Turbo on Craigslist, not far from work, I couldn't resist.  Here are a few shots after a whole lot of the usual elbow grease, Simple Green and Magic Eraser.  The cabinet is in really nice shape.  The original blue t-molding is looking pretty nice, and the side art is not bad at all.


And, bonus! This one actually had the back door.  I'm so tired of making and replacing cabinet back doors, I  felt like if this one were missing it would've been a deal breaker.

So, it's not like I needed another project, but ever since I played Mick's Turbo, I've wanted my own.  This one is in almost working order, and I'm guessing with a few tweaks it should be up and running smoothly.

I started by replacing the missing lights and tracking down any simple issues that I could fix.  The marquee light was dead and needed a starter too.

 I disassembled the entire control panel, then cleaned and lubed the steering wheel and shifter.  The steering wheel had been painted black, so I stripped the paint off and polished up the chrome wheel with a little steel wool.  I wanted to brighten up the tired old steering wheel a bit, so I opted to paint the center cap a bright red.


The previous owner,Paul, was nice enough to throw in a working board set.  This game would boot up fine, and play for about 5 minutes. Then suddenly it would crash, and display garbage on the screen.  After swapping in the extra board, it plays and sounds great.  


I'll still need to replace the 12" woofer on this game, its responsible for playing the engine rumble.  I also ordered LED bulb replacements for the various 12volt lights.  The bulbs in the control panel that light up the faux dials get pretty hot, so I'm thinking the LED's will be a good idea there.

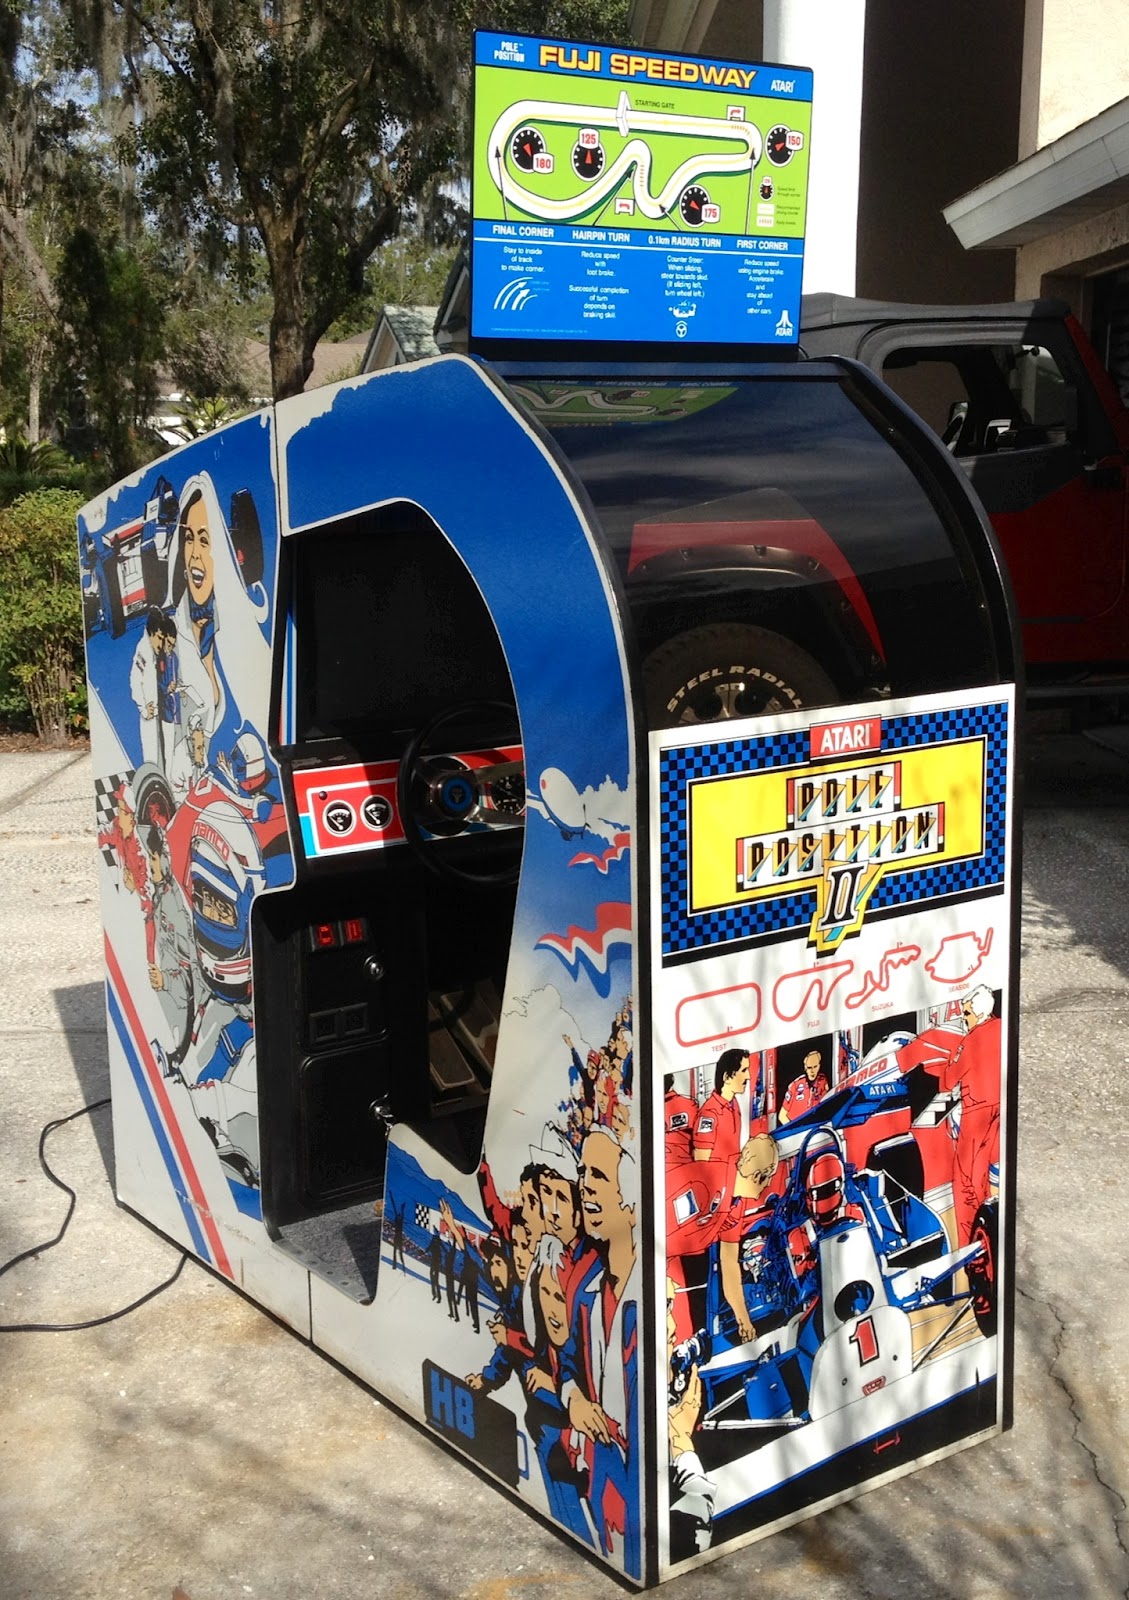
You have to admire the attention to detail that Sega put into this cabinet.  The top five scores are displayed to the left of the monitor in red digital panels, it's a nice touch.  Also they went to the trouble to add a push button start, and a 12" woofer for added bass.  The cabinet design is wicked cool too.  So that's it for now, I'm totally happy to add this one to the collection, but there is plenty more work to be done on this beauty.


Monday, March 12, 2012

High Score Saved Again

A little more love was given to the Pole Position II today.  I replaced the ghetto fabulous score saving cordless phone battery with a Dallas Semiconductor nonvolatile SRAM.  Now my dismal hi-scores will be saved for all posterity.


This chip replaces a socketed ram chip about three spots north of the old battery location.  Previously I was using a rechargeable battery to maintain the scores, but found it to be a bit unreliable.  This is a much better solution, and should last a good long time.

Tuesday, March 6, 2012

Pole Position Cockpit Topper

This most excellent item arrived months ago and I only recently got it installed.  Kudos to Phet for having the dream and making this happen.

I don't have any memory of ever seeing one of these back in the day.  It is however, in several drawings in the owners manual.  To get the story of how this was made you'd have to be following it on KLOV.      Here's a link to the two threads:
http://forums.arcade-museum.com/showthread.php?t=45723
http://forums.arcade-museum.com/showthread.php?t=187749

Gravitar Final Pictures

Just a few before and after pictures of the Gravitar.