
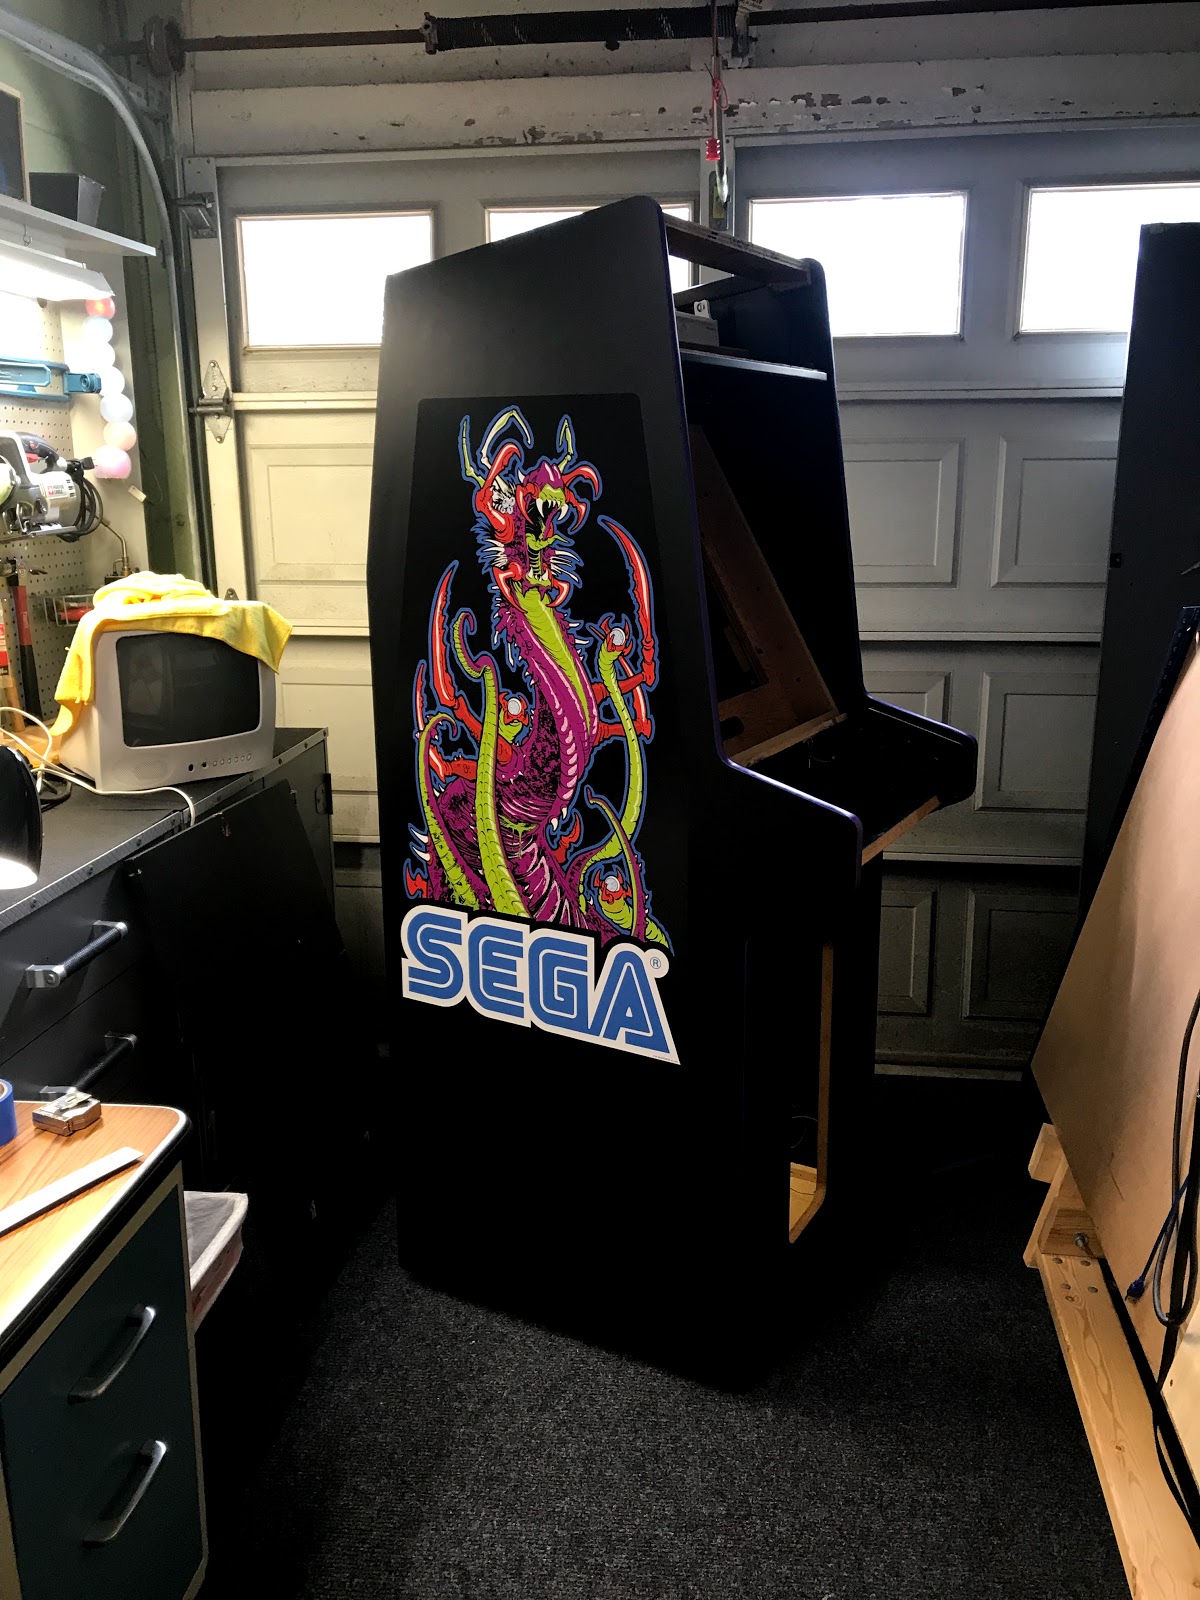
The side art went on perfectly and without air bubbles or any other grief. This can go badly if not done correctly. I used the "wet" method by soaking the surfaces down with a spray bottle of water with just a tiny bit of mild soap. This allows for a small amount of adjustment and with a squeegee I was able to work out any air bubbles with ease. The artwork looks fantastic and you can see the colors really make this cabinet stand out.

After this I made a trip to Lowes, and purchased a new front glass and new 18" fluorescent tubes for the marquee.
A quick check in the Alien Syndrome manual shows the original glass as 23 9/16" by 23 9/16". They have thin window glass at the local Lowes, and they will cut it for free, which is a plus.
For the bezel, I didn't want to apply it to the glass. I opted instead to purchase a 24" wide sheet of picture matting in white. I then applied the artwork to the matting and using a new blade in an Exacto knife, I managed to cut the center square and sides out ( and my finger), leaving just the artwork, now on a nice card stock. The bezel, while not original to the dedicated cabinet, really makes the game look sharp.

After replacing the power switch and replacing some of the old power cables, I decided to mount the marquee and test out the lights.

It's going to be a real beauty!
No comments:
Post a Comment