Tuesday, September 13, 2011

Working the bugs out of Pole Position II

Over the last week I've been trying to get this troublesome game up to speed, no pun intended.  There are two reasons for my sudden motivation.

First, I'd like to be able to take this to the Gamewarp show in Orlando next year.  It's not everyday that folks can play a "working" Pole Position, and a working cockpit version is an even better treat.  So if I can get it there, I'm sure it will be fun.

Secondly, and this is really the primary reason, Fetishboy of KLOV fame has finalized his painstaking reproduction of the cockpit attract billboard.  I can't remember seeing one of these back in the day, but it did exist.  The first time I came across it, was in the manual.  It shows a large metal sign that bolted above the front plexiglass window.  A few forum members actually had these in decent enough shape to be scanned.  The artwork was vectorized by Fet and I believe it is being printed by Rich over at This Old Game.
A fabrication shop is making the steel portion and having it powder coated.  I believe they are making a first run of only 25, of which I had the fortune to shell out my hard earned cash for.

This game has a few issues to be resolved.  I first wanted to address the problem of it not booting properly each time it was turned on.  About half the time, when it starts up, I get garbage on the screen.  I'm not sure why but I decided to check the voltages on both of the ARII boards, and found that one was a little under 5V. I think it was somewhere around 4.8 something.  Anyway, turning that up and adjusting the other board to be just over 5V seemed to correct the startup issues.

My second project was to create a heat exhaust port.  It seems the game gets pretty hot, and although I had a fan installed, it wasn't cooling the board cage well enough.  Some of the folks on the KLOV forum have made ports out of paper for upright Pole Positions, so I figured it would be a good idea for the sitdown version too.  I used a large piece of heavy illustration board and just measured and cut as I went along.  I used the trusty double sided tape and it came together quite nicely, it's actually a very sturdy piece.  The board cage stays much cooler now, and I can actually feel the heat being expelled when I hold my hand in front of the fan.  Here is a shot of the exhaust port, taken with my iPhone.


When I brought this game home, one of the first things I did was a complete cap kit on the Matsushita monitor.  For some reason the colors have always just been weird.  I had finally had enough and decided to investigate.  I pulled the neck board and began adjusting the color pots.  At first I would shut the game down, adjust the pot a little, then replace the board and try to get an idea of what was changing.  During this process I realized that the slightest movement of the various potentiometers would cause the colors to go all freakishly extream.  So out of frustration, I took a few minutes and worked them back and forth through their entire range of motion.  My guess is that the contacts on the pots had a small amount of corrosion, because this exercise totally cleaned up the colors.  After this I was able to adjust down the red and turn up the blues, and it all started to look pretty much normal.  Hurray!

Wednesday, September 7, 2011

More Progress

So it's Labor Day weekend.  I worked from about 9 AM to 7 PM on this project, with a short break for lunch.  While it was good to stay focused for the day, I rushed some things, and that's never good.  Still it's looking much better than I had expected, and there were a few surprises along the way.

I started early by finishing up the new back door.  I found that using the Space Duel door as a template made making this one a snap.  Since they are basically the same cabinet, I traced the vent cutout with the router and it looked to be near factory quality.  I then assembled the parts to block off the view into the vent opening, just like the Atari built door, with a small 2 inch by 14 inch piece.  I made a re-printed back door sheet using a new wide carriage printer at work.  The door then got a new cam lock and a fresh coat of oil based satin black.  While the satin dried a little too glossy for me, It will just have to do for now.


The front of the cabinet was still orange and all of that surface needed cleaned up and prep for painting black.  When I started sanding I noticed that the paint really wasn't sanding down, it was gunking up and peeling.  So after a closer inspection, I could see that the underlying surface was laminate.   I tried cleaning a little off with acetone and after a few minutes decided to try a gel based paint stripper I had on hand.  It worked perfectly, and within about 20-30 minutes I had the orange paint removed and the laminate was in great shape.  I had to use a little elbow grease and some Pledge to restore it, but in the end it was much better than painting.  In fact it was looking great.


With that problem out of the way, I had plenty of time to focus on sanding down the Bondo from the front corner repairs and prepping the cabinet for painting.  The fiber board was somewhat brittle all around the edges of the cabinet, so I tried a new product.  It was a wood hardener and it appears to have worked well.  I spread it all around the exposed edges and down into the t-molding groove.  After letting it dry, the surface seemed to be much harder and more stable.  I then sanded the remaining Bondo down and began masking off the side art.  This was a bit tedious, and took maybe an hour.  I wanted to get it just right, as I was likely too lazy to do it again if there were any mistakes.


After a few coats of white it was looking pretty nice.  I used the new Rustoleum gloss white in the newly designed "any angle" cans.  Not sure if that helped but the finish was pretty nice, not perfect but good enough.  Had I done this again I would've started with a sandable primer.  Now with bright white sides the artwork really jumps out.


I think this is where I called it a day on Sunday.  I was actually exhausted by this time.  The next day I repaired and painted the lower back section of the cabinet, the day before I had peeled off what appeared to be vinyl.  I then Bondoed the bottom edge after using more of that wood hardener.  I needed to scrub the top half of the cabinet with a Magic Eraser and Simple Green to remove all of the orange over spray.  After that the top was looking good too. 

The marquee brackets were rusty and missing bolts, so those got sanded down and cleaned up.  I used 60 grit sandpaper to clean up any large spots of rust, then some steel wool to get them smooth.  After that, they got a light coat of Rustoleum hammer texture spray followed by a light coat of satin black.  There was some weather stripping material on both brackets where they contacted the glass marquee, and I had some on hand, so that got replaced.  I cleaned the marquee front and back with Simple Green, seems the backs are always yellow, looks like from cigarette smoke.  I had some nice clean black bolts to put it all back together with.

As always, I was impatient to get the t-molding on.  I had ordered some red t-molding earlier in the week from Twisted Quarter.  I didn't want to go with the original black, seemed a waste, I thought the red would give it a little flash.  I had to use a silicon glue on several areas to get the t-molding to hold good.  So at the end of the day it was really starting to look nice.


Friday, September 2, 2011

Goodbye Ms Pac!

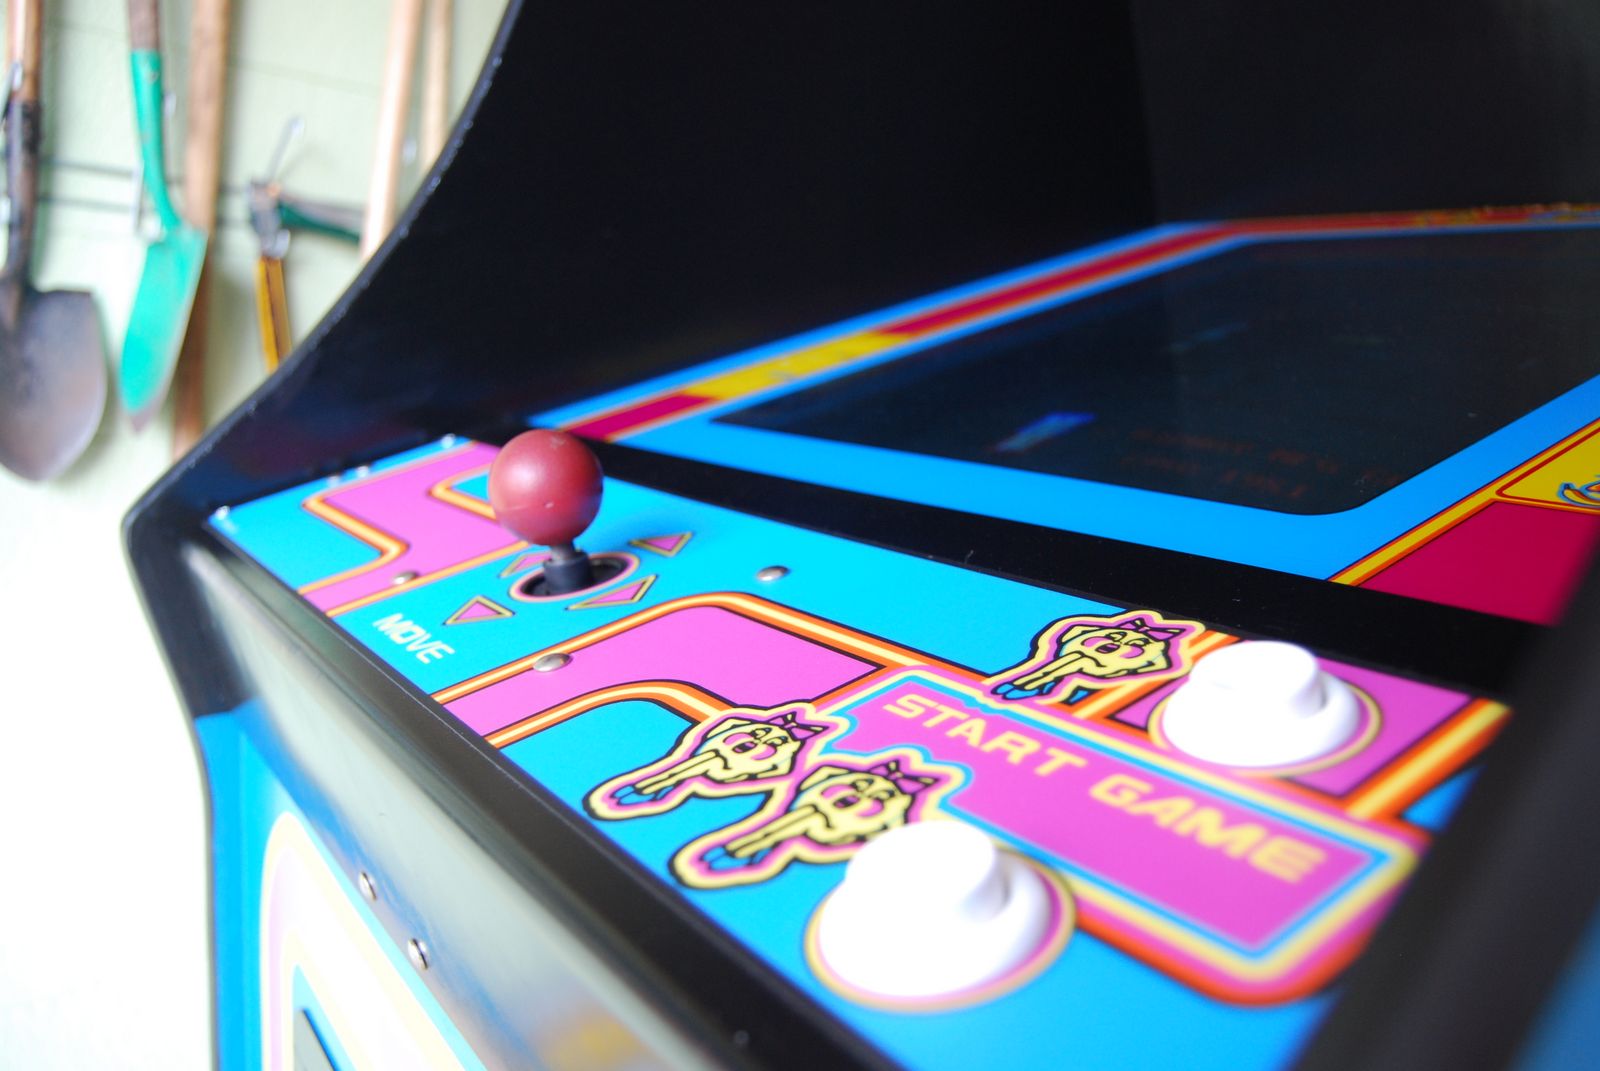
This Wednesday I traded off my Ms Pac for a rough but working Atari Tempest.  Here are a few shots of the cabinet when I first brought it home.  This was sometime in 2008.  It had a dead monitor, but played blind.  I managed to repair the monitor, rebuild the controller and replace the control panel overlay.  I expect there to be a small backlash.  It's as if people just expect there to always be a form of Pac Man available when classic video games are around.  I say no, it was way past time to go!  Anyway, that gaudy pink and blue color scheme was totally ruining any chance of feng shui in the Garcade.

Wednesday, August 31, 2011

Tempest


This Tempest basically fell into my lap.  Brian, or Bamboo, on The Village forum, was offering two of these up for sale or trade, so I offered up my Ms. Pac.  He decided to go for it, to my surprise, and I agreed to haul the games.  This Tempest has a little water damage, but is in fine working order.  It needed a good deal of cleaning, and had the usual rodent nest and other filth from thirty years of use and storage.  None of this was a problem though, and within a few hours I had it reasonably clean and even the control panel and side art were looking pretty nice.


The Wells Gardener 6100 looked nice and bright but had a small amount of waviness and flicker.  Having heard horror stories about how difficult Tempest can be to keep running, I planned to rebuild the power brick, replace the big blue filter capacitor and rebuild the AR2 board.  I ordered these parts from Bob Roberts and while browsing his site I also noticed that he carried a cap kit for the Tempest PCB.   I of course ordered one of these as well, why not? 

I snapped this close up picture of the PCB while replacing the capacitors.  As you can see, the date stamped on the board is almost exactly 30 years ago.  So I'd say replacing the caps wasn't such a foolish idea.

When these parts arrived I decided to do the work and test each piece as I went to see which part corrected the waviness and jittery screen issues.   After replacing the bridge rectifier, filter capacitor and fuse block, the screen looked pretty sharp and steady again.  I then rebuilt the AR2 board, this didn't seem to have any effect.  After replacing the capacitors on the Tempest PCB, the display had to be realigned and adjusted, this also seemed to correct some of the jittery movement.  The game looks and plays great, and has a clean solid picture, so I'm happy with the work for now.

Jeff Hendrix designed a low voltage retrofit board called the LV2000 for the Wells Gardener 6100.  From the posts seen on KLOV the most common issue with Tempest is that the low voltage section of the K6100 fails.  I placed an order for one of these and it arrived in just a few days.  The installation is quite easy and can be reversed if there is ever the need to.  Here is a link to Jeff's site .  After installing the LV2000 lite, I had to adjust the picture once again.  That's it for now.  I should probably look at doing a complete cap replacement on the K6100, but for now I'll just let it be.  The picture looks great and holds very clear and steady.  I'll likely install a fan in the top of the game or back door to keep the monitor cool, as it seems to run a little on the hot side.

Saturday, August 27, 2011

Meh

I ended up cutting out a couple of control panel pieces for FrizzelFried from the klov forum. His has the same busted control panel sides as I do, so hopefully he'll be able to get it resolved. After reading about how he traced around the side art on a Battle Zone, and peeled off the vinyl, I decided that was exactly what needed to be done to this Gravitar.


I was totally blown away by how much this simple method helped. Most of the funk and damage went with the peeled off vinyl. Anyway so I started the Bondo work and this cab is going to come together nicely.


Friday, August 26, 2011

Back at it again.

It's been way too hot to do any work in the garage, in fact it's been wicked hot this summer.  I turned my games on maybe once or twice, and was worried they would spontaniously combust.

I'm not sure what I was thinking in that last post, but Jim had that monitor back in tip-top-shape the next day.  The Wells Gardner 6100 looks fantastic, testing it on the Space Duel, it looks even better than the one in the Space Duel.  That's saying alot, cause it has a brand new tube.

My plan was to just find someone who could repair the Gravitar board, I tried the easy stuff.  At this point I just felt like getting started on the cabinet again.  After posting for help with the board on http://www.arcadeflorida.com/ and http://www.klov.com/ then not getting any interest,  I shipped the board out to Eldorado Games.  So, I'll just wait to hear from them. 

While hurricane Irene is churning out in the Atlantinc and heading up the east coast, I got started on the cabinet.  Odd thing about having a hurricane close by, they tend to pull dryer air in, which is a tremendous relief to being outdoors.  I was able to replace the four busted corners using a tracing bit on my router.  Replacing them with the new "copy" and gluing in place with a well placed biscuit joint.  Here are a few shots of the progress.


Tuesday, May 3, 2011

Not Much to Report

I've been troubleshooting the main board for this game.  I replaced all four of the TLO82's in the XY section of the board and socketed the chips, but it didn't seem to help.   I also swapped the AVG chip from my Space Duel and grounded the WD/DIS to no avail.  Keep in mind I know very little about the board repairs and typically send them off for someone else to deal with.  Once or twice I've been lucky and it's been a simple repair, but I have to rely on help from the KLOV forum.  At this time the board seems to be pretty dead.  Many of the chips get kinda hot after it's been on for a few minutes.  I'm willing to try a few more things, If I can get the help, but it's likely that I'll be forced to send it out for repair.

Speaking of  "sending out for repair", no word yet on the monitor from Atari Jim. =(